Tips:本篇已加入系列文章阅读目录,可点击查看更多相关文章。
目录
- 前言
- 开始
- 扩展实体
- 路由整理
- 最后
前言
上一篇实现了前端vue部分的用户登录和菜单权限控制,但是有一些问题需要解决,比如用户头像、用户介绍字段目前还没有,下面就来完善一下。
开始
因为用户实体是ABP模板自动生成的,其中的属性都预先定义好了,但是ABP是允许我们扩展模块实体的,我们可以通过扩展用户实体来增加用户头像和用户介绍字段。
扩展实体
ABP支持多种扩展实体的方式:
- 将所有扩展属性以json格式存储在同一个数据库字段中
- 将每个扩展属性存储在独立的数据库字段中
- 创建一个新的实体类映射到原有实体的同一个数据库表中
- 创建一个新的实体类映射到独立的数据库表中
这里选择第2种方式就好,它们的具体区别请见官网:扩展实体
src\Xhznl.HelloAbp.Domain\Users\AppUser.cs:
/// <summary>/// 头像/// </summary>public string Avatar { get; set; }/// <summary>/// 个人介绍/// </summary>public string Introduction { get; set; }src\Xhznl.HelloAbp.EntityFrameworkCore\EntityFrameworkCore\HelloAbpDbContext.cs:
builder.Entity<AppUser>(b =>{ 。。。。。。 b.Property(x => x.Avatar).IsRequired(false).HasMaxLength(AppUserConsts.MaxAvatarLength).HasColumnName(nameof(AppUser.Avatar)); b.Property(x => x.Introduction).IsRequired(false).HasMaxLength(AppUserConsts.MaxIntroductionLength).HasColumnName(nameof(AppUser.Introduction));});src\Xhznl.HelloAbp.EntityFrameworkCore\EntityFrameworkCore\HelloAbpEfCoreEntityExtensionMappings.cs:
OneTimeRunner.Run(() =>{ ObjectExtensionManager.Instance .MapEfCoreProperty<IdentityUser, string>( nameof(AppUser.Avatar), b => { b.HasMaxLength(AppUserConsts.MaxAvatarLength); } ) .MapEfCoreProperty<IdentityUser, string>( nameof(AppUser.Introduction), b => { b.HasMaxLength(AppUserConsts.MaxIntroductionLength); } );});src\Xhznl.HelloAbp.Application.Contracts\HelloAbpDtoExtensions.cs:
OneTimeRunner.Run(() =>{ ObjectExtensionManager.Instance .AddOrUpdateProperty<string>( new[] { typeof(IdentityUserDto), typeof(IdentityUserCreateDto), typeof(IdentityUserUpdateDto), typeof(ProfileDto), typeof(UpdateProfileDto) }, "Avatar" ) .AddOrUpdateProperty<string>( new[] { typeof(IdentityUserDto), typeof(IdentityUserCreateDto), typeof(IdentityUserUpdateDto), typeof(ProfileDto), typeof(UpdateProfileDto) }, "Introduction" );});注意最后一步,Dto也需要添加扩展属性,不然就算你实体中已经有了新字段,但接口依然获取不到。
然后就是添加迁移更新数据库了:
Add-Migration Added_AppUser_Properties
Update-Database 也可以不用update,运行DbMigrator项目来更新

查看数据库,AppUsers表已经生成这2个字段了:

目前还没做设置界面,我先手动给2个初始值:

再次请求/api/identity/my-profile接口,已经返回了这2个扩展字段:

修改一下前端部分:
src\store\modules\user.js:
// get user infogetInfo({ commit }) { return new Promise((resolve, reject) => { getInfo() .then(response => { const data = response; if (!data) { reject("Verification failed, please Login again."); } const { name, extraProperties } = data; commit("SET_NAME", name); commit("SET_AVATAR", extraProperties.Avatar); commit("SET_INTRODUCTION", extraProperties.Introduction); resolve(data); }) .catch(error => { reject(error); }); });},刷新界面,右上角的用户头像就回来了:

路由整理
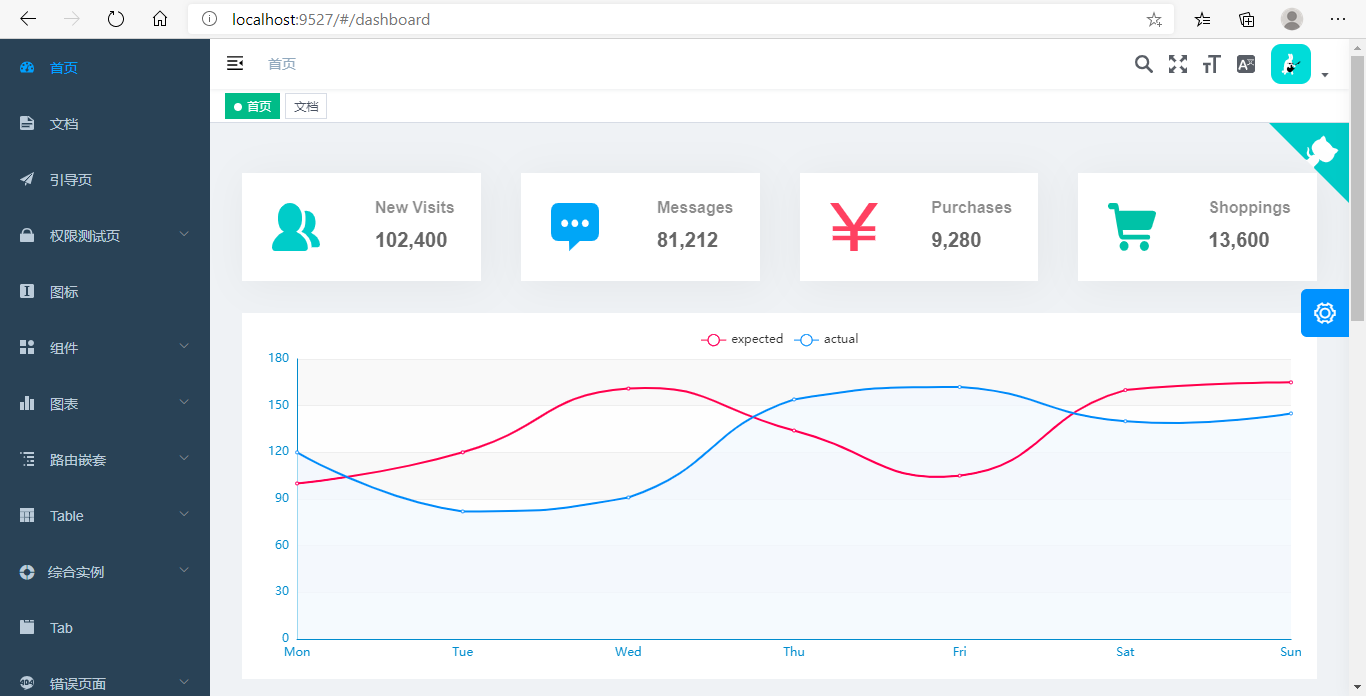
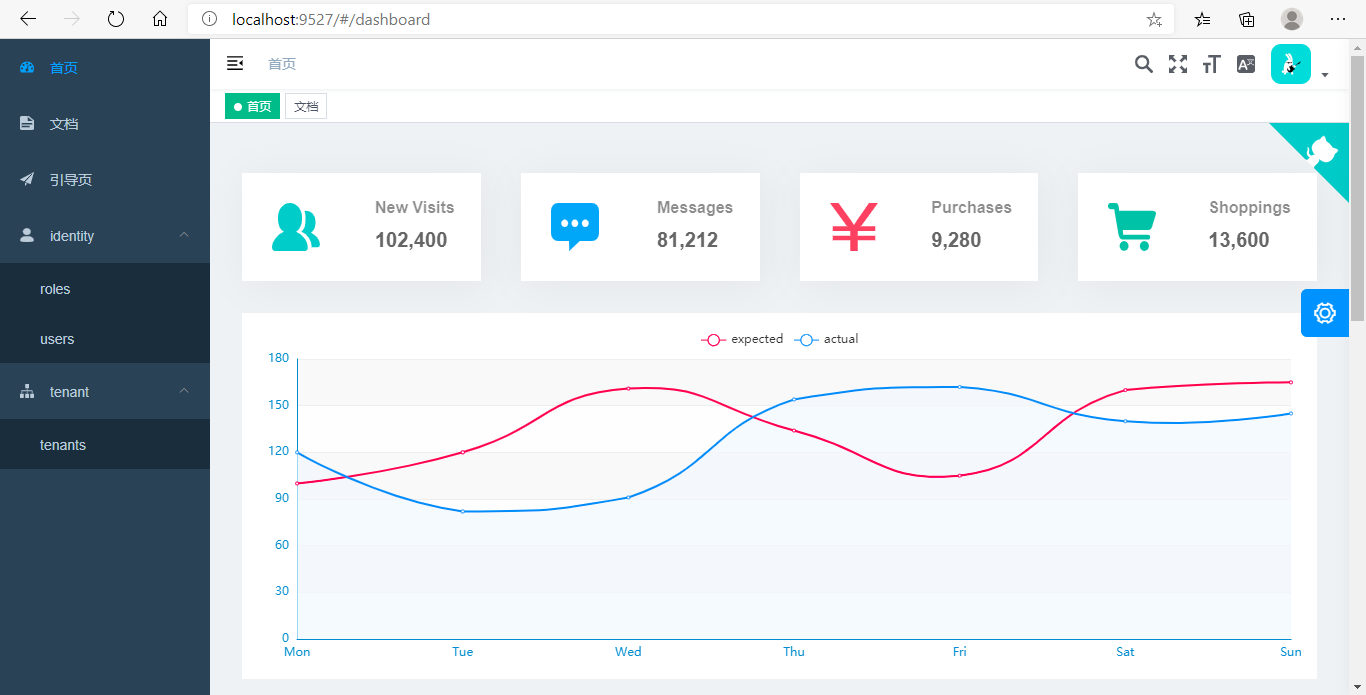
删除掉vue-element-admin多余的路由,并添加ABP模板自带的身份认证管理和租户管理。
src\router\index.js:
/* Router Modules */import identityRouter from "./modules/identity";import tenantRouter from "./modules/tenant";export const asyncRoutes = [ /** when your routing map is too long, you can split it into small modules **/ identityRouter, tenantRouter, // 404 page must be placed at the end !!! { path: "*", redirect: "/404", hidden: true }];src\router\modules\identity.js:
/** When your routing table is too long, you can split it into small modules **/import Layout from "@/layout";const identityRouter = { path: "/identity", component: Layout, redirect: "noRedirect", name: "Identity", meta: { title: "identity", icon: "user" }, children: [ { path: "roles", component: () => import("@/views/identity/roles"), name: "Roles", meta: { title: "roles", policy: "AbpIdentity.Roles" } }, { path: "users", component: () => import("@/views/identity/users"), name: "Users", meta: { title: "users", policy: "AbpIdentity.Users" } } ]};export default identityRouter;src\router\modules\tenant.js:
/** When your routing table is too long, you can split it into small modules **/import Layout from "@/layout";const tenantRouter = { path: "/tenant", component: Layout, redirect: "/tenant/tenants", alwaysShow: true, name: "Tenant", meta: { title: "tenant", icon: "tree" }, children: [ { path: "tenants", component: () => import("@/views/tenant/tenants"), name: "Tenants", meta: { title: "tenants", policy: "AbpTenantManagement.Tenants" } } ]};export default tenantRouter;运行效果:

对应ABP模板界面:

最后
本篇介绍了ABP扩展实体的基本使用,并且整理了前端部分的系统菜单,但是菜单的文字显示不对。下一篇将介绍ABP本地化,让系统文字支持多国语言。
初识ABP vNext(5):ABP扩展实体crowd、 平台助力,政企携手,开创互联网+时代、 商品管理、 亚马逊 运营、 卖家别慌!各大跨境电商平台已针对疫情影响发出通知、 "促眼镜转型升级·创品牌发展之路"互联网与眼镜转型峰会、 深圳香蜜湖水上乐园有什么好玩的?、 深圳园博园在哪?怎么去?、 深圳坪山有什么好玩的地方?、
没有评论:
发表评论